This year's birthday game was to be a WW1 game but, with the German commander unavoidably detained in Cyprus, I had to resort to a solo game. Hence, I retrieved my trench terrain, from the depths of the garage, and set up a game of 'Through the Mud and Blood'.
As this was to be solo game, a trench raid with a pre-programmed opponent would be ideal. I've always wanted to try 'Winter Sports', the raiding system from the TooFatLardies Xmas 2010 special. [I printed off a copy, only to discover that I already had two copies filed away. Apparently, I was really keen to give this a go!]
 |
| The German lines |
 |
| The view across No Man's Land. |
 |
| I rolled for the mission and got the Recce mission. |
My force would be 26 men, under an officer and 3 NCOs. I split these into 4 groups. |
| Lt. Jimmy Riddell would lead the raid with 6 bombers. |
 |
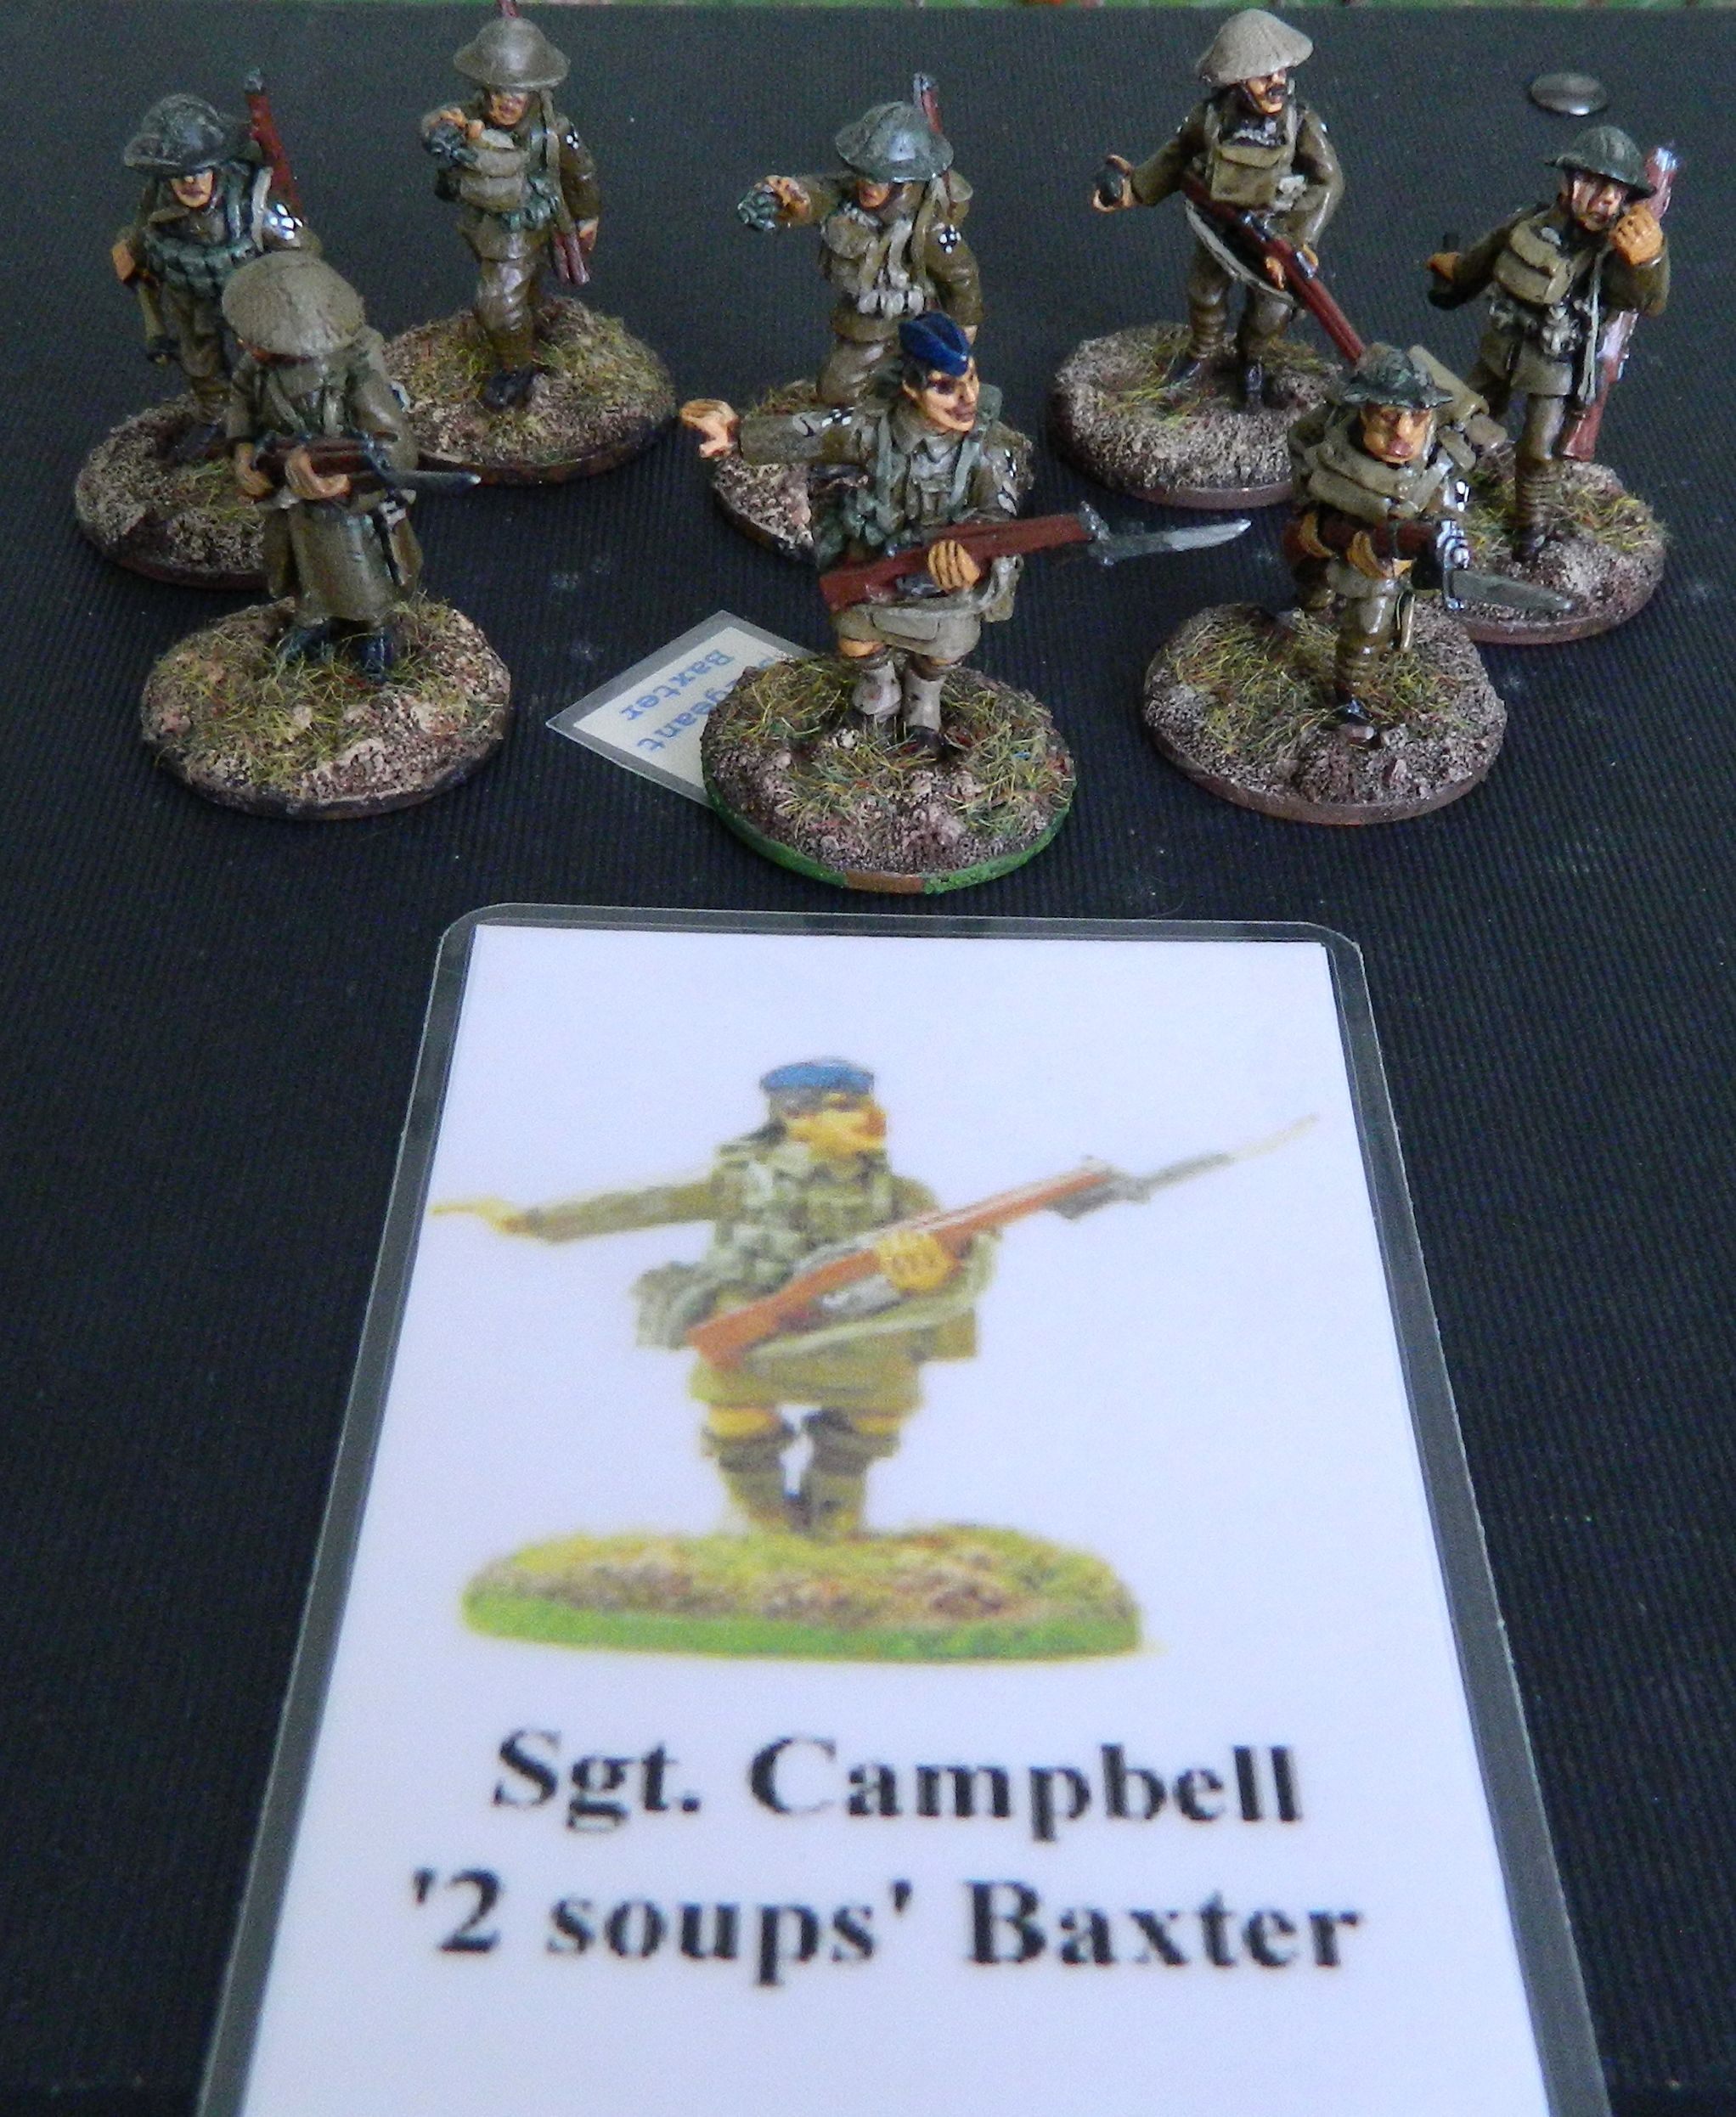
Second in command would be Sgt Campbell Baxter (2 soups)
with 5 bombers and 2 trench cleaners. |
 |
The main attack would be made by Sgt. Shug McLaughlin. Shuggy leads a
group of 5 bombers and two trench cleaners. They also carry two trench brooms. |
 |
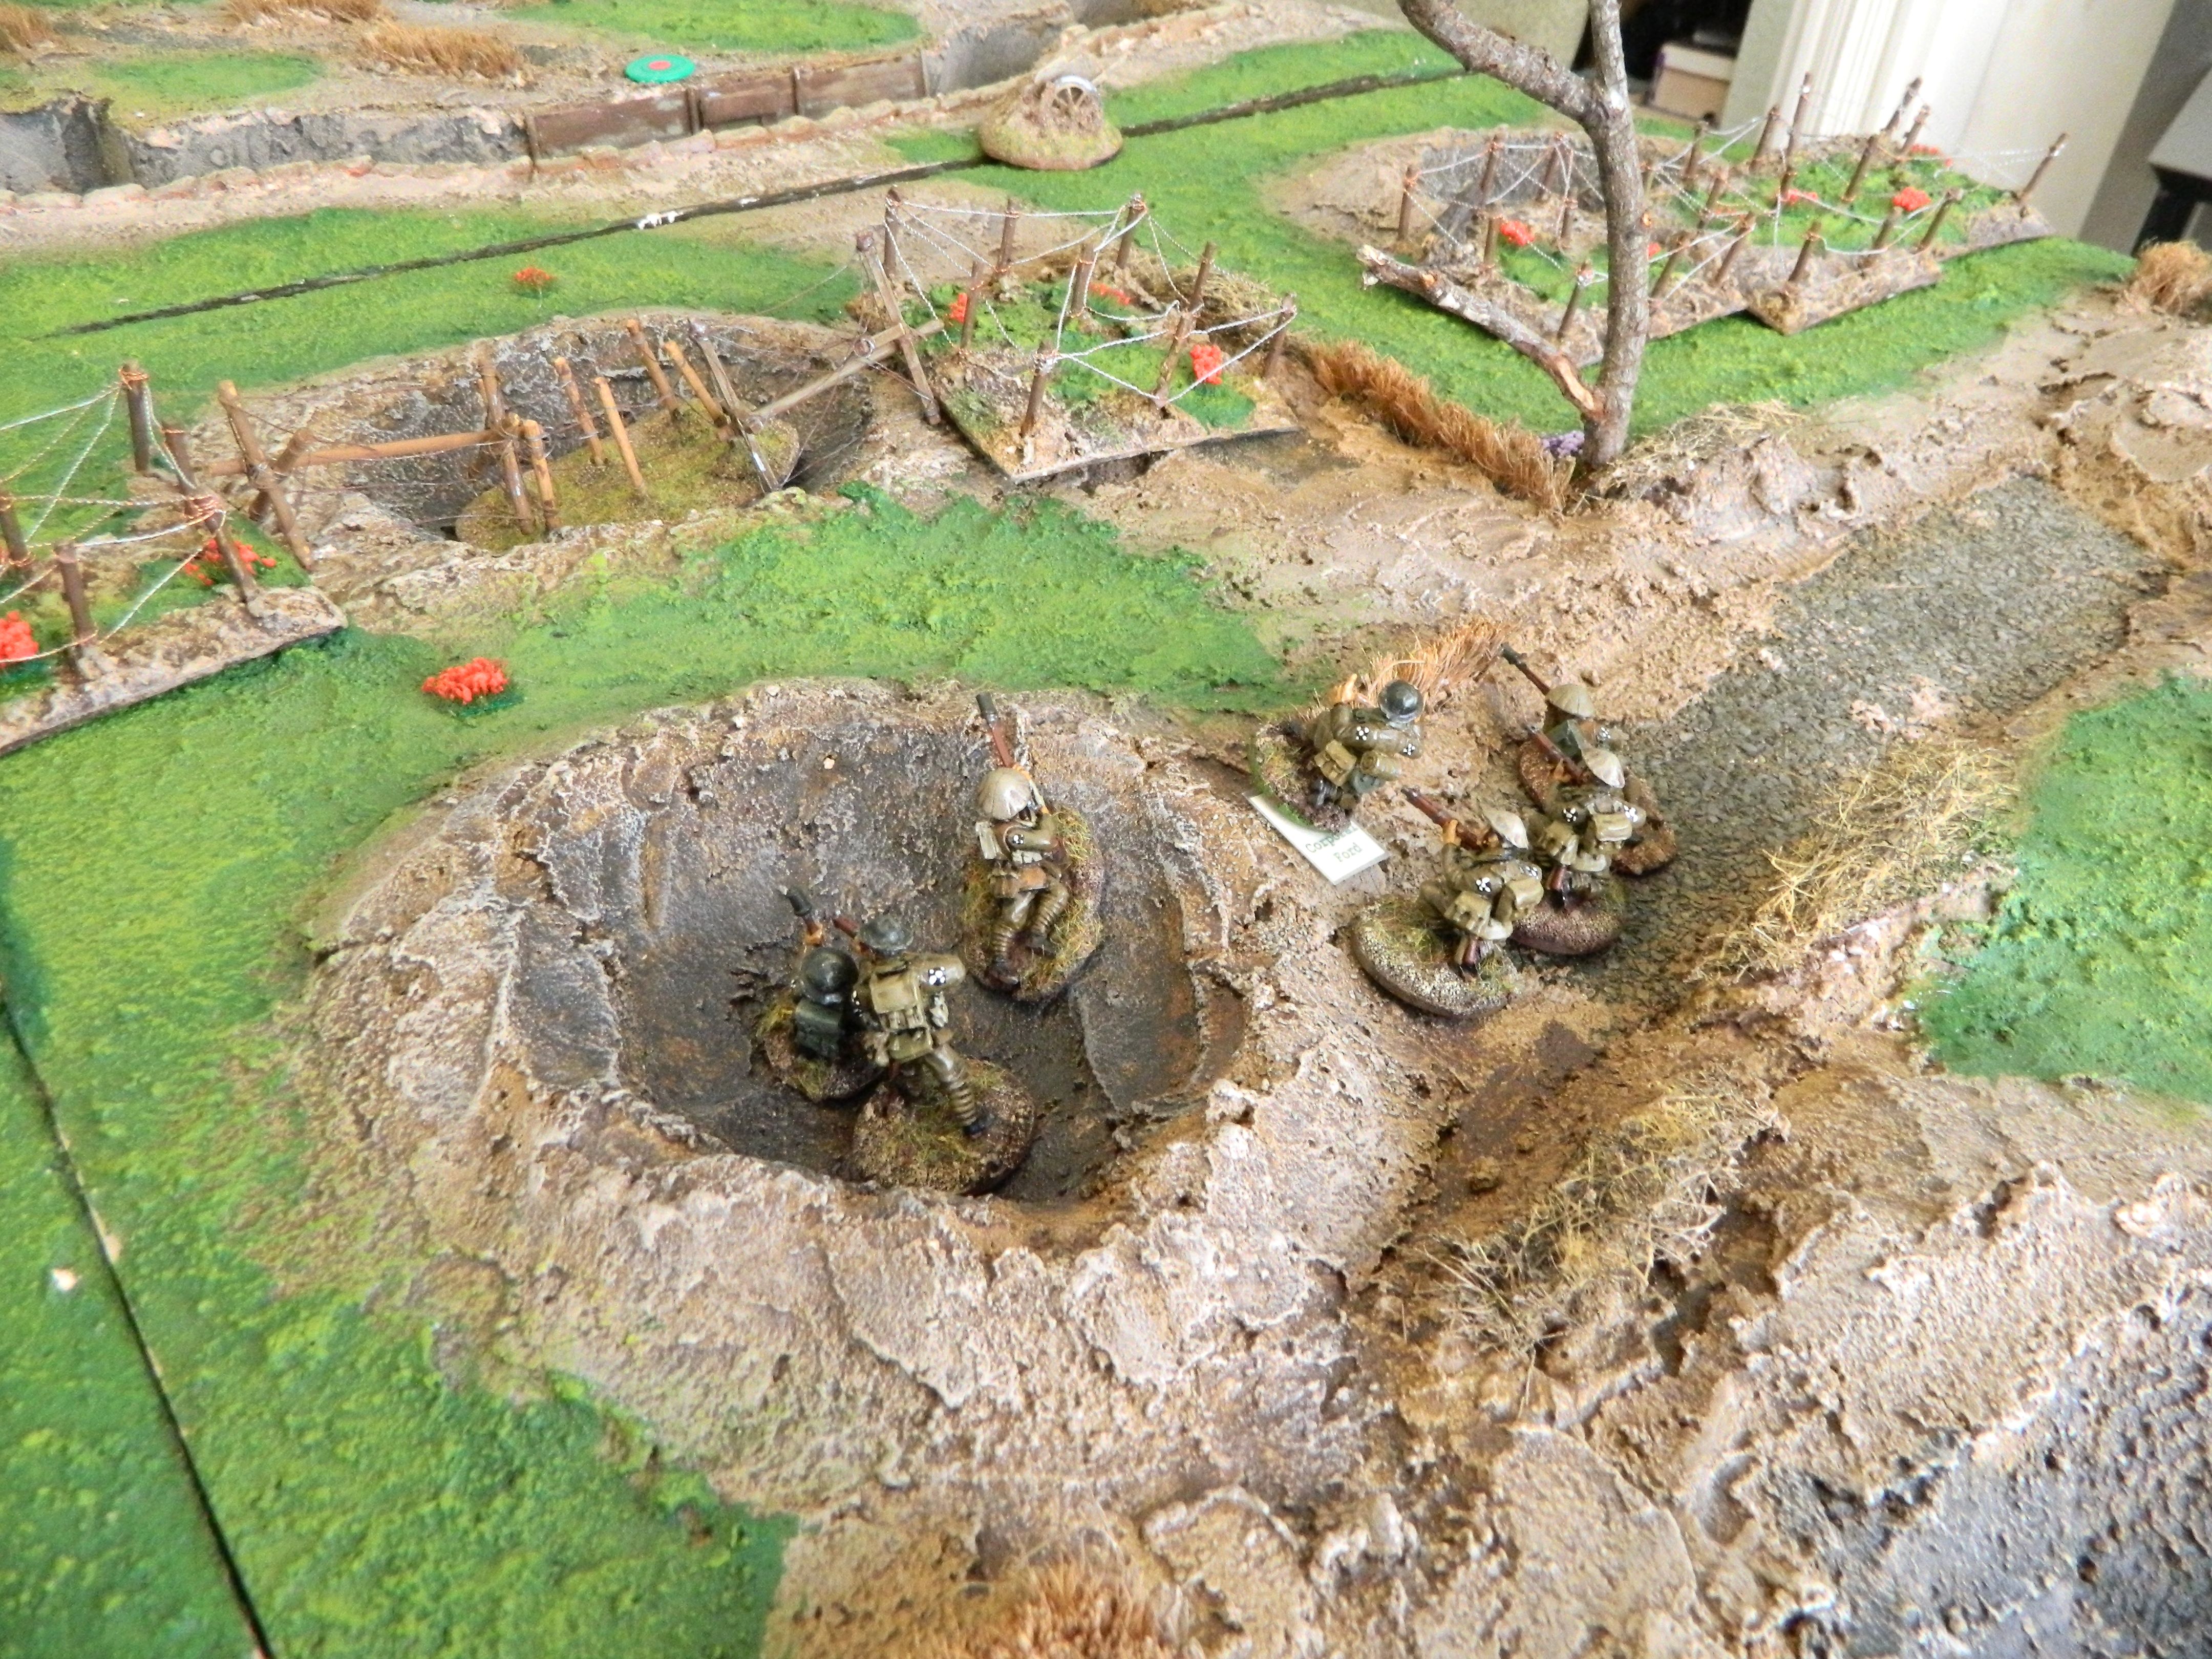
Coporal Jack Ford would provide cover fire from the rear.
He leads three rifle grenade teams. |
The plan involved gapping the wire in three places - one gap either side of the blocked sap and one on the track leading to the ruined farm.Corporal Ford would place his rifle bombers on our side of the wire, to provide cover support.Shuggy McLaughlin would lead the assault, penetrating the enemy trenches via the sap. He would then bomb along the trench, exiting on the farm track and escaping through the gap in the wire.
Jimmy Riddell would follow Shug's party to coordinate the attack and block the junction with the communication trench.
Two soups would bring up the rear, acting as a rear-guard against any enemy counterattacks along the trench.
 |
| The plan - what could possibly go wrong. |
 |
| The first two wire sections are successfully gapped. |
 |
A third gap is created but the Hun have festooned the wire with tin cans.
Have the sentries heard anything? |
The scenario occurs at night but no blinds are used. The German sentries spot, as normal, but successful spots equate to fleeting glimpses etc. Each such spot accumulates whistle blowing points - as does any firing or combat. As the whistle blowing points accumulate, the German forces begin to activate, according to the following schedule. In this case, the British started with 2 points due to the tin cans on the wire.
 |
| Shug makes it through the wire. |
 |
| Jack Ford deploys his rifle bombers. |
 |
| Shug penetrates the sap |
 |
| Two Soups takes the over-ground route. |
 |
| The alarm is raised and Fatty von Strucker emerges from the command dugout. |
 |
| Two Soups team is the first into the trench. A sentry bolts down the trench...... |
 |
| .........only to be cut off by Shug emerging from the sap. |
 |
| Shugs bombs the dug out. Strucker is cut off from the second dug out so goes over the top. |
 |
| Gefreiter Max Eisenhardt, and his riflemen, begin to emerge from the second dug out. |
 |
Meanwhile, Two Soups has secured his objective but Riddell has been very slow and
is only now working his way along the sap. |
 |
| The HMG team deploy in the farmhouse. It's going to be dangerous above ground now. |
 |
| Eisenhardt rushes along the trench only to be met with a hail of bombs and shotgun pellets from Shug's team. |
 |
A very large group of Eingreiftruppen, under Gefreiter Schumaker, attack Two Soups
position. The figures are actually just off board, along the trench, but have been
placed on table for convenience. |
 |
A second large group of Eingreiftruppen, under Leutnant Fartgasse,
appear in the communication trench, at the rear of the position. |
 |
Meanwhile, Jack Ford's rifle bombers valiantly attempt to keep the
machine gunner's heads down but are taking casualties. |
 |
| Fartgasse versus Riddell. It goes badly for the British with 4 men killed, including Riddell. |
 |
| After an earlier repulse, Schumaker attacks again, killing four of Two Soups' team. |
 |
| Shug makes a dash for home, after lobbing a few grenades at the HMG. |
 |
| The remnants of Riddell's team retreat back down the sap. |
A great game and technically a win for the British - if a very bloody and Phyrric one.
The butcher's bill:
The British
Lt Jimmy Riddell KIA
Sgt. Campbell Baxter POW
15 men killed, 1 captured
The Germans
Feldwebel Erik Lehnsherr, Gefreiter Max Eisenhardt, Gefreiter Walter Jonas Kovacs KIA
20 men KIA plus 1 POW, plus an unknown number of men killed in the bombed dug out.
The man of the match has to be Shuggy, who successfully bombed down the trench, bombed a dug out, took out a whole group of enemy riflemen (including the German 2ic), and helped suppress the HMG before making it back to British lines with a prisoner.
An honourable mention goes to Jack Ford's rifle bombers who took on an unequal duel with the HMG but eventually prevailed.
The wooden spoon goes to Jimmy Riddell, who was just too slow in getting his men up, failed to coordinate the attack and got himself killed in the process.
A cracking game and one I want to revisit - there's another 5 missions after all.


