Many years ago, at the turn of the century in fact, I was primarily a solo wargamer. One of my projects at the time was to follow the exploits of the British Army throughout the Peninsular War. This would be chronicled through the eyes of two 'characters' Lt. P. and his manservant Quilp. My figure collection was a lot smaller then and suitable rule sets were somewhat lacking. Nevertheless, these two rogues did fight at Obidos, Rolica, Vimeiro, Sahagun and Corunna. At that point real life intervened and the project quietly fizzled out. It was enormous fun, whilst it lasted, and I have long had a hankering to return to the Peninsular. This has been in the planning stage for a year or so now, but the current restrictions to gaming have spurred me on to actually get started.
Rather than picking up where I left off, this will be, in the best traditions of Hollywood, a reboot.
The previous campaign had started with the skirmish at Obidos but this time I would start a tad earlier with the seizure of the Santa Catarina fort at Figueira da Foz. This was instrumental in securing a suitable
landing site for Wellesley’s army, thereby beginning the British Army’s
involvement in the Peninsular War. Hence, it seems fitting that this action
should also kick off my Peninsular campaign.
In reality the fort’s
garrison surrendered to a larger but poorly equipped Portuguese force, as the
fort had not been provisioned to withstand a siege and the garrison only had
supplies for a matter of days. A British naval squadron was stationed offshore at the time and the surrender of the French enabled Admiral
Cotton to garrison the fort with a force of British marines.
All in all not really
promising as a game but in the best traditions of Bernard Cornwell and Sharpe
this can be easily dressed up as a ‘Boy’s Own Adventure’ type scenario. Hence, I decided to play this game using Sharp Practice.
 |
| The Santa Catarina Fort |
When originally planned, although kicking off my solo campaign, this particular action was planned as a multi-player club game. I had plans to build a fort and had actually borrowed a couple of wall pieces from the club to use as a template. This was a few weeks before lockdown and I still have them. However, with less table space available these three wall pieces would have to stand in for the fort. Similarly, I had envisaged the British landing from boats but, again, space precluded that idea.In lieu of a multiplayer affair, I would game the allies and enlist a fellow Petain to give orders to the French.
French Briefing
The garrison at Figueira consists of a company of French ligne and a couple of worn out cannon, under the command of Capitaine Finguin.
An insurrection has broken out in Northern Portugal, led by the Bishop of Oporto. The Figueira garrison is isolated and no supplies have been getting through. Portuguese militia have been spotted scouting the town and its environs and a British naval squadron lies offshore. Finguin has no option but to abandon the post and rejoin the main army to the south. To do this the French must march through the town towards the river's lowest crossing point.
However, there is much to be done; the contents of the fort’s magazine cannot be allowed to fall into enemy hands, nor can the fort’s few cannon. Finguin’s papers, containing potentially important intelligence, must also be destroyed or otherwise removed. The company pay chest will need to be transported as will the company's sick and wounded.
That said Finguin’s main concern is to escape; with or without his men! He has no desire to spend time in a British prison hulk or even worse a Portuguese dungeon.
You have the assistance of Lieutenant Pomfritte but there is an added complication in that Pomfritte is accompanied by his mistress and her maid.
Your Forces
6 Groups (a ‘company’) French Ligne
Cpt. Finguin Status III
Lt Pommfritte Status II
Sgt Camembert Status I
You do not have the capability to remove the cannon but you do have a cart and some mules. The cart and mules may transport one item each; wounded, paychest, papers etc.
You must assign some of the company to be under the command of Lt Pomfritte and issue him the necessary orders.
What is your plan? Speed is of the essence as the British could arrive at any moment.
What Finguin didn't know was that Pomfritte's mistress, Mademoiselle de Armentières, was in a 'delicate condition' and would require the use of some of the company's transport.
Finguin is of course a Cad and from a Military family with wealth and influence. He is a giant of a man, an epicure with an impressive waistline, although plain and unremarkable. He carries a genuine Toledo blade, far too heavy for a normal scaled human. He is however an enormous coward.
Captain Finguin's Orders.
Camembert, take that thing out of your mouth and go put papers into the magazine immediately. Set fuses to blow it up once the main body leaves the fort. Try a trail of gunpowder. I want a big explosion or I will reduce your cheese ration.
Pommfritte, take two groups, numbers 5 and 6 I think, and form a line facing the British deployment. Do so now. Open fire at long range. I shall take the remainder of the Company and swing around via the town to take the British in the flank whilst they are occupied by you.
We shall put the paychest in the wagon and it will follow the main column.
[I have no intention of supporting Pommfritte of course, and I will flee for the exit point with the main body.
I fully expect Camembert to succeed but he will probably kill himself in the process.
Unknown to Pommfritte I will order the ladies to look after the wounded and leave them in the fort. Finguin is always accompanied by Young Monsieur Grâce, a Physic and hemorrhoid specialist, and he will take charge of the wounded and the Ladies.
I don`t expect the explosion to be that large. However, if Camembert manages to kill everyone in the fort, it will be a shame. The British clearly did it.
If the Portuguese show up I will abandon the paychest and lead my men in a bayonet charge on the town. I would rather fight the Portuguese than the British.
For the Glory of France, let's get the hell out of here.]
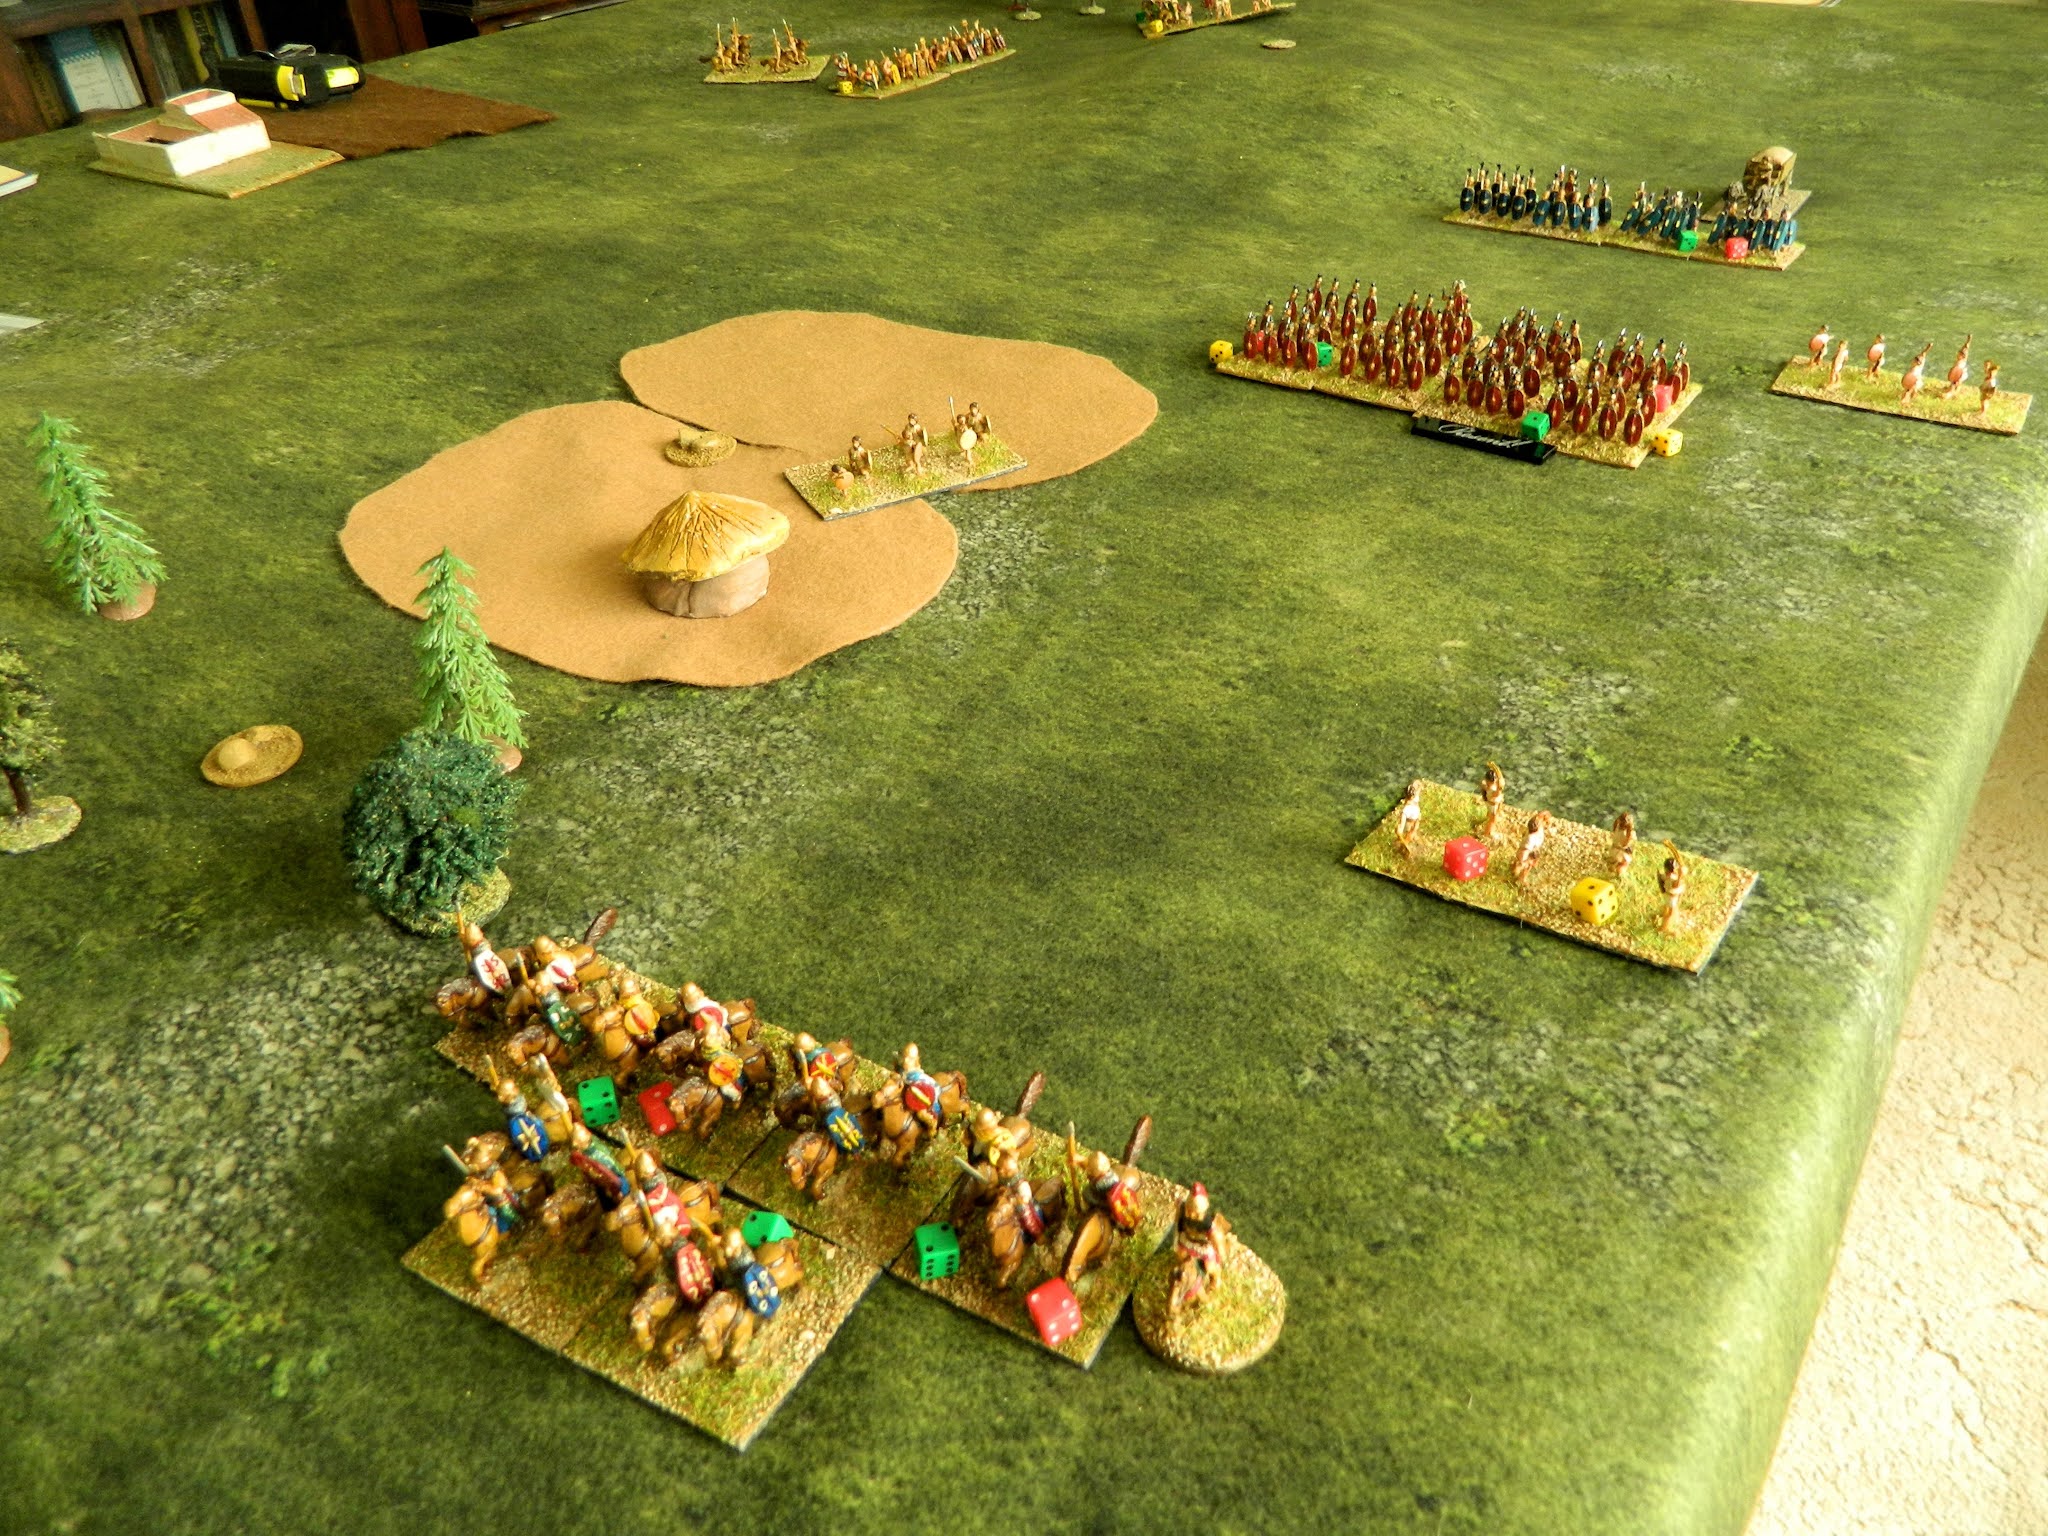
 |
| Figueira - the fort top left. The top table edge leads to the sea, the left to the river. |
Time was of the essence here as the French needed to move before the British arrived; there would be a delayed arrival for the British as their cards would not be put into the deck until the turn of the third blank card. The Portuguese were also hanging back as they wanted to deploy from a moveable deployment point, in the town, so had to wait for their skirmishers to deploy first.
When Finguin's card came out he instantly led the column forward. However, this meant that Pommfritte could not leave the fort until Finguin's column cleared the way. In hindsight I should have sped the column along by stepping out (didn't think of it at the time) and the column road bonus would have been handy (except I don't have any roads - next on the terrain building project!).
Camembert was able to start preparing the fuses, early on, only for a random event to be pulled immediately afterwards! Apparently, runny cheese and fuses don't mix.
 |
Finguin leads the French column
|
Pommfritte was furious to discover that Finguin had abandoned the ladies. However, as the Capitaine had also left the mule behind, Mademoiselle de Armentières and her maid were able to join Pommfritte's force. The lieutenant also ordered the abashed Sgt Camembert to accompany him. I diced for Pommfritte's intentions and apparently he still intended to follow orders and led his column towards the beach.
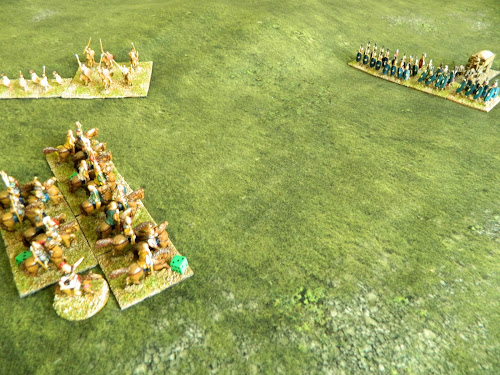
By now the Portuguese had arrived and skirmishers were firing on Finguin's column. I never achieved the right combination of flags to ambush but fire into the flank of the column was bad enough.
 |
| Portuguese open fire |
To make matters worse Portuguese militia were deploying, from the town, to block Finguin's way. Finguin responded by detaching his rear two groups toface of the skirmishers in the flank, whilst he prepared to lead the remaining two groups in a bayonet charge against the militia.
Timing really was critical here as British Marines, under Lt. Scrimshaw, were beginning to arrive from the beach.
 |
| The trap closes |
Unfortunately, the Portuguese militia formed up first and began an uncontrolled volley into Finguin's position. With his command already fragmented it became almost impossible to keep the Shock down on the various French groups.
 |
Finguin begins to falter
|
It was beginning look like the French advance into the town was very doubtful. Even if Finguin did succeed in this, a mob of enraged civilians was beginning to gather, led by the Mayor Bernardim de Quimby.
 |
| The mob gathers |
Eventually, the British Marines executed a series of controlled volleys that shattered FInguin's lead troops (even though I forgot to apply the controlled volley bonus) and Finguin fled. However, the following random event decreed that something in the fort had caught fire - perhaps the magazine would explode after all? Let's hope not, for the sake of the wounded that Finguin had callously abandoned!
 |
Finguin flees as the fort burns
|
With the flight of Finguin, it was up to Pommfritte to form line and hold back the British Marines.
 |
Pommfritte opens fire
|
However, with the French Force Morale down to one and British Sailors also arriving from the beach, all Pomfritte could do was to seek an honourable surrender. Finguin, however, was no where to be seen - but afterwards his coat was found on the field!
 |
Midshipman Quilp leads the sailors to the fort
|
So all in all, quite a complicated game for my inaugral outing but an enjoyable solo game nonetheless. And s far as my campaign narrative goes it looks like Finguin now has a mortal enemy in the shape of the deceived Pommfritte.


